CapCut has grown into one of the most-used video editors in the world, with over 500 million monthly active users globally, and a big part of that growth comes from how approachable it is for someone who's never edited a video before. Here's everything you need to go from opening the app for the first time to exporting your first finished video.
In Short: Getting Started with CapCut
- CapCut is free to download on mobile (iPhone, Android), desktop (Mac, Windows), and web, with the core toolkit available at no cost and no watermark.
- The absolute basics you need for a first project are: import footage, trim and split clips, add text and music, apply a transition, and export.
- Beyond the basics, a handful of core techniques, speed control, cropping, volume adjustment, and simple color correction, cover most of what a beginner project actually needs.
- CapCut's AutoCut feature can build a rough first edit automatically from raw footage, a genuinely useful shortcut while you're still learning manual editing.
- Mobile and desktop use different interaction methods (touch gestures vs. mouse and toolbar), so a tutorial written for one won't always match what you see on the other.
Step 1: Download and Set Up CapCut
CapCut is available on the App Store, Google Play, and as a desktop download for Mac and Windows, plus a browser-based web version that needs no installation at all. All versions sync to the same account, so a project started on your phone can be finished on desktop.
Create a free account to save your projects to the cloud, this matters more than it sounds like, since losing an unsaved project to a closed app or crashed browser is one of the most common early frustrations for new users.
Step 2: Understand the Interface
CapCut's layout is built around the same core structure across platforms: a preview window to see your video, a timeline below it where your clips sit in order, and a toolbar for the editing actions themselves (trim, text, effects, audio, transitions).
The big difference is how you interact with that structure. On mobile, everything is touch-based, tapping a clip, pinching to zoom, dragging fade handles. On desktop, you're working with a mouse, clicking to select, dragging a crop box, using keyboard shortcuts. If you've only used one platform and a tutorial suddenly doesn't match what's on your screen, that's usually why. For a full breakdown of exactly how the two differ, our mobile vs. desktop cropping guide covers one of the clearest examples of that split.
Step 3: Build Your First Project
Import your footage. Start a new project and pull in the clips you want to use, either from your camera roll, a desktop folder, or CapCut's built-in stock media library if you don't have footage yet.
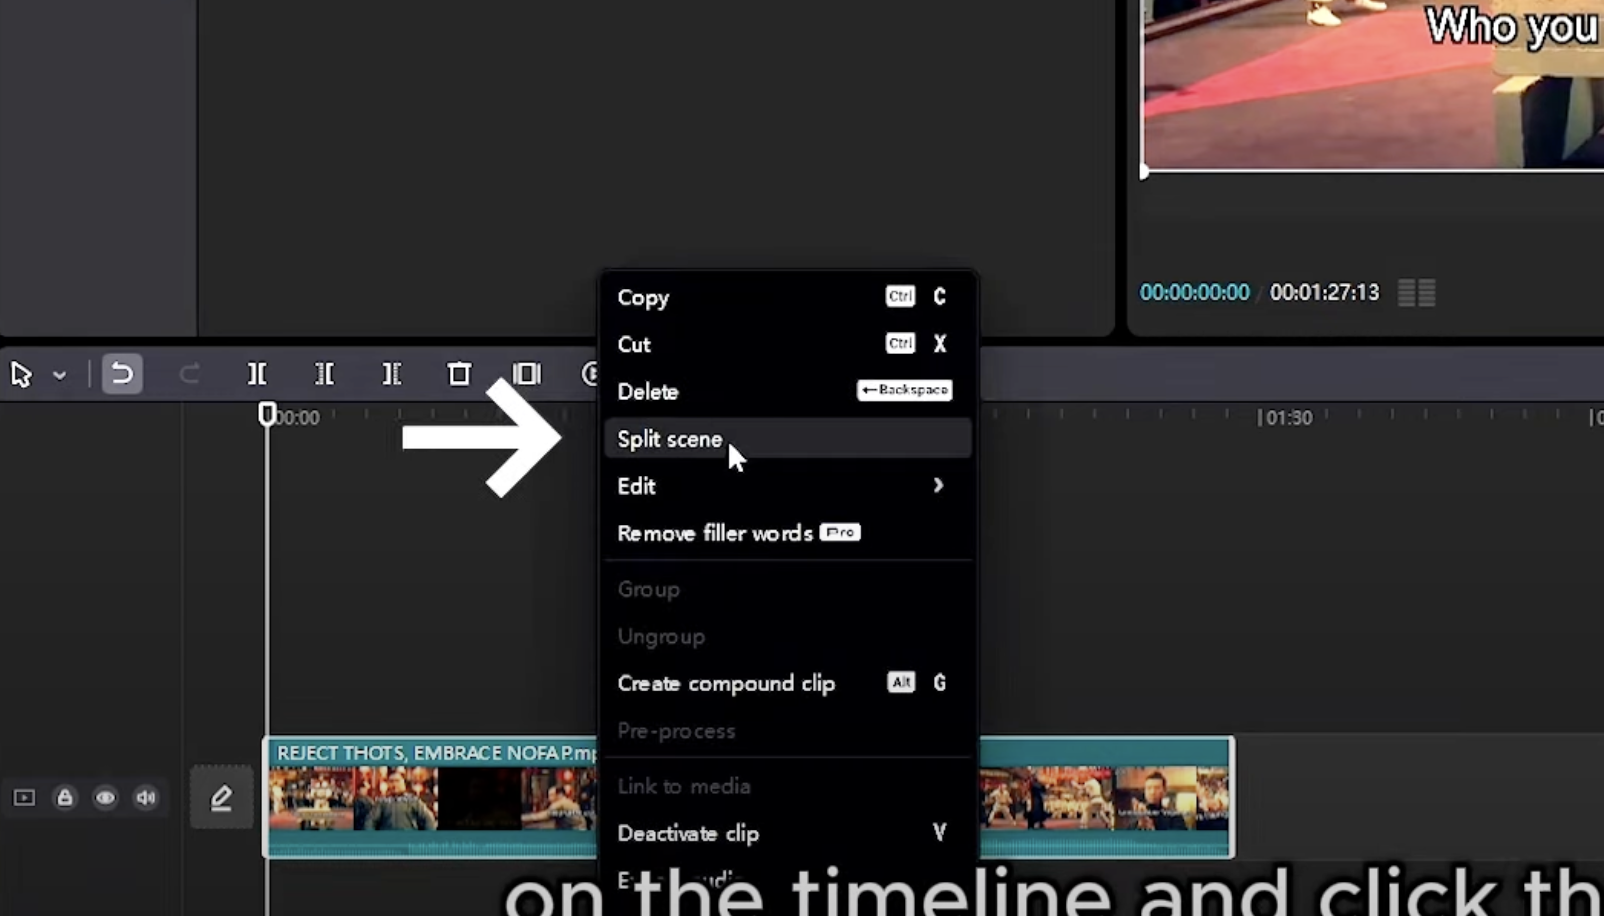
Trim and arrange. Drag clips onto the timeline in the order you want them to play. Trim the start and end of each clip by dragging its edges, and split a clip into two pieces at the playhead if you need to cut something out of the middle.
Add text and captions. Tap or click the Text tool to add titles, captions, or on-screen labels. CapCut can also auto-generate captions from your audio, a genuinely useful starting point even if you end up adjusting the timing manually. Our full guide to adding text in CapCut covers styling options in depth.
Add music and sound. Bring in a track from CapCut's audio library or your own files, then trim it to match your video's length. Our guide to selecting and adding music covers how to pick something that actually fits the pacing of your edit.
Apply transitions. Tap the space between two clips to add a transition, a simple cut, a fade, or something more stylized. As a beginner, resist the urge to use a different flashy transition on every cut, restraint reads as more professional than variety.
Export. Choose your resolution and frame rate, then export. Our export settings guide walks through the settings that actually affect quality, since the wrong export choice is one of the most common ways a good edit ends up looking worse than it should.
Basic Editing Techniques Worth Practicing
Once you've built one full project, these are the core techniques that show up in almost every edit afterward, worth deliberately practicing rather than picking up by accident.
Speed adjustment. Slowing down a clip adds emphasis or a cinematic feel, speeding one up compresses dead time or adds energy. Select a clip, open Speed, and adjust with a flat rate or a curve for a more gradual ramp in and out.
Cropping and reframing. Reframing a shot, tightening in on a subject or adjusting the aspect ratio for a different platform, is one of the most-used techniques in short-form editing. The method differs meaningfully between mobile (pinch gesture) and desktop (drag a crop box), so it's worth learning both if you switch between devices.
Volume and audio balance. Raise or lower a clip's volume so dialogue, music, and sound effects don't compete with each other. A quick fade in or out on both video and audio at the start and end of a clip smooths out what would otherwise be an abrupt cut.
Basic color adjustment. You don't need full color grading skills to make a real difference. Adjusting brightness, contrast, and saturation slightly, or applying one of CapCut's built-in filters consistently across your clips, gives an edit a more finished, cohesive look without much effort.
Layering. Stack a second video, image, or text element above your base clip for picture-in-picture shots, overlays, or simple compositing. Keep layers organized and use blend modes sparingly at first, it's easy to overcomplicate a simple shot once you realize how many layers you can stack.
Keyframes. A keyframe locks in a value (position, scale, opacity) at a specific point in time, and animating between two keyframes creates movement, a slow zoom, a pan, an element sliding into frame. This is the technique that separates a static edit from one that feels intentionally directed, and it's worth learning early even though it takes more practice than the others on this list.
The AI Tools Worth Learning Early
CapCut's AI features aren't just gimmicks, a few of them genuinely shortcut the learning curve for a beginner:
- AutoCut analyzes raw footage and builds a rough first edit automatically, trimming dead space and syncing cuts to a beat. It's not a replacement for manual editing, but it's a fast way to get an unfamiliar clip into a usable starting shape. Our full AutoCut guide covers how to get the most out of it.
- Auto captions transcribe your audio into styled on-screen text automatically, saving what would otherwise be the most tedious part of editing for social content.
- Background removal and green screen tools let you swap or clean up a background without needing an actual green screen setup.
Common Beginner Mistakes to Avoid
- Overusing transitions and effects. A different flashy transition on every single cut reads as amateur, not creative. Restraint is a skill.
- Skipping export settings. Exporting at the wrong resolution or frame rate is one of the most common reasons a clean edit looks blurry or choppy once it's posted.
- Not backing up projects. CapCut auto-saves to the cloud when you're logged in, but it's still worth exporting finished projects locally so you're never dependent on the app itself to keep your work.
- Starting from a blank timeline instead of a template. Templates aren't cheating, taking one apart to see how the pacing, text, and transitions were built is one of the fastest ways to learn structure as a beginner.
What to Learn Next
Once the basics feel comfortable, the next skills worth building are keyframe animation for custom motion, color grading for a consistent look across clips, and understanding CapCut's Pro features to know whether the free tier is actually holding you back. Our free vs. Pro breakdown covers whether upgrading is worth it for where you're at.
Frequently Asked Questions
Is CapCut good for a complete beginner?
Yes. Its interface is built around simple drag-and-drop actions, and the free tier includes everything needed to learn core editing skills, trimming, text, music, transitions, without a watermark or a paywall blocking the basics.
Do I need to use CapCut on mobile or desktop as a beginner?
Either works, but they're not identical experiences. Mobile is touch-gesture based and often more intuitive for a first project, desktop gives more manual precision once you're comfortable with the basics. Most people end up using both depending on the project.
How long does it take to learn CapCut basics?
Most beginners can complete a simple, competent first edit within an hour of opening the app for the first time, trimming, text, music, and export are all straightforward actions. Getting comfortable with more advanced techniques like keyframes and color grading takes longer and benefits from structured practice.
Is CapCut's AutoCut good enough to skip learning manual editing?
No, treat it as a starting point rather than a replacement. AutoCut gives you a rough, watchable first cut fast, but understanding manual trimming, pacing, and transitions is what lets you actually fix or improve what AutoCut gives you.
Do I need CapCut Pro to get started?
No. The free version covers everything a beginner needs, full editing tools, no watermark, and export up to a solid resolution. Pro adds extras like premium effects and additional export options that are worth considering once you already know what you're missing.
If you want to go beyond tutorials and actually build a structured skill set, from editing technique to motion graphics to a portfolio you can show, Miracamp's CapCut Course covers the full path with expert-led lessons and 1-on-1 coaching, not just individual how-to guides.