

Adding yellow contrast in your video can bring warmth, cinematic tones, and stylized energy—especially in outdoor scenes, music videos, and fashion edits. In this quick guide, you’ll learn how to create a yellow-contrast color grade step by step using Premiere Pro’s built-in Lumetri Color tools.
Whether you're a beginner or looking to level up your grading game, this method is precise, clean, and highly effective.
How to Add Yellow Contrast in Premiere Pro: Step-by-Step
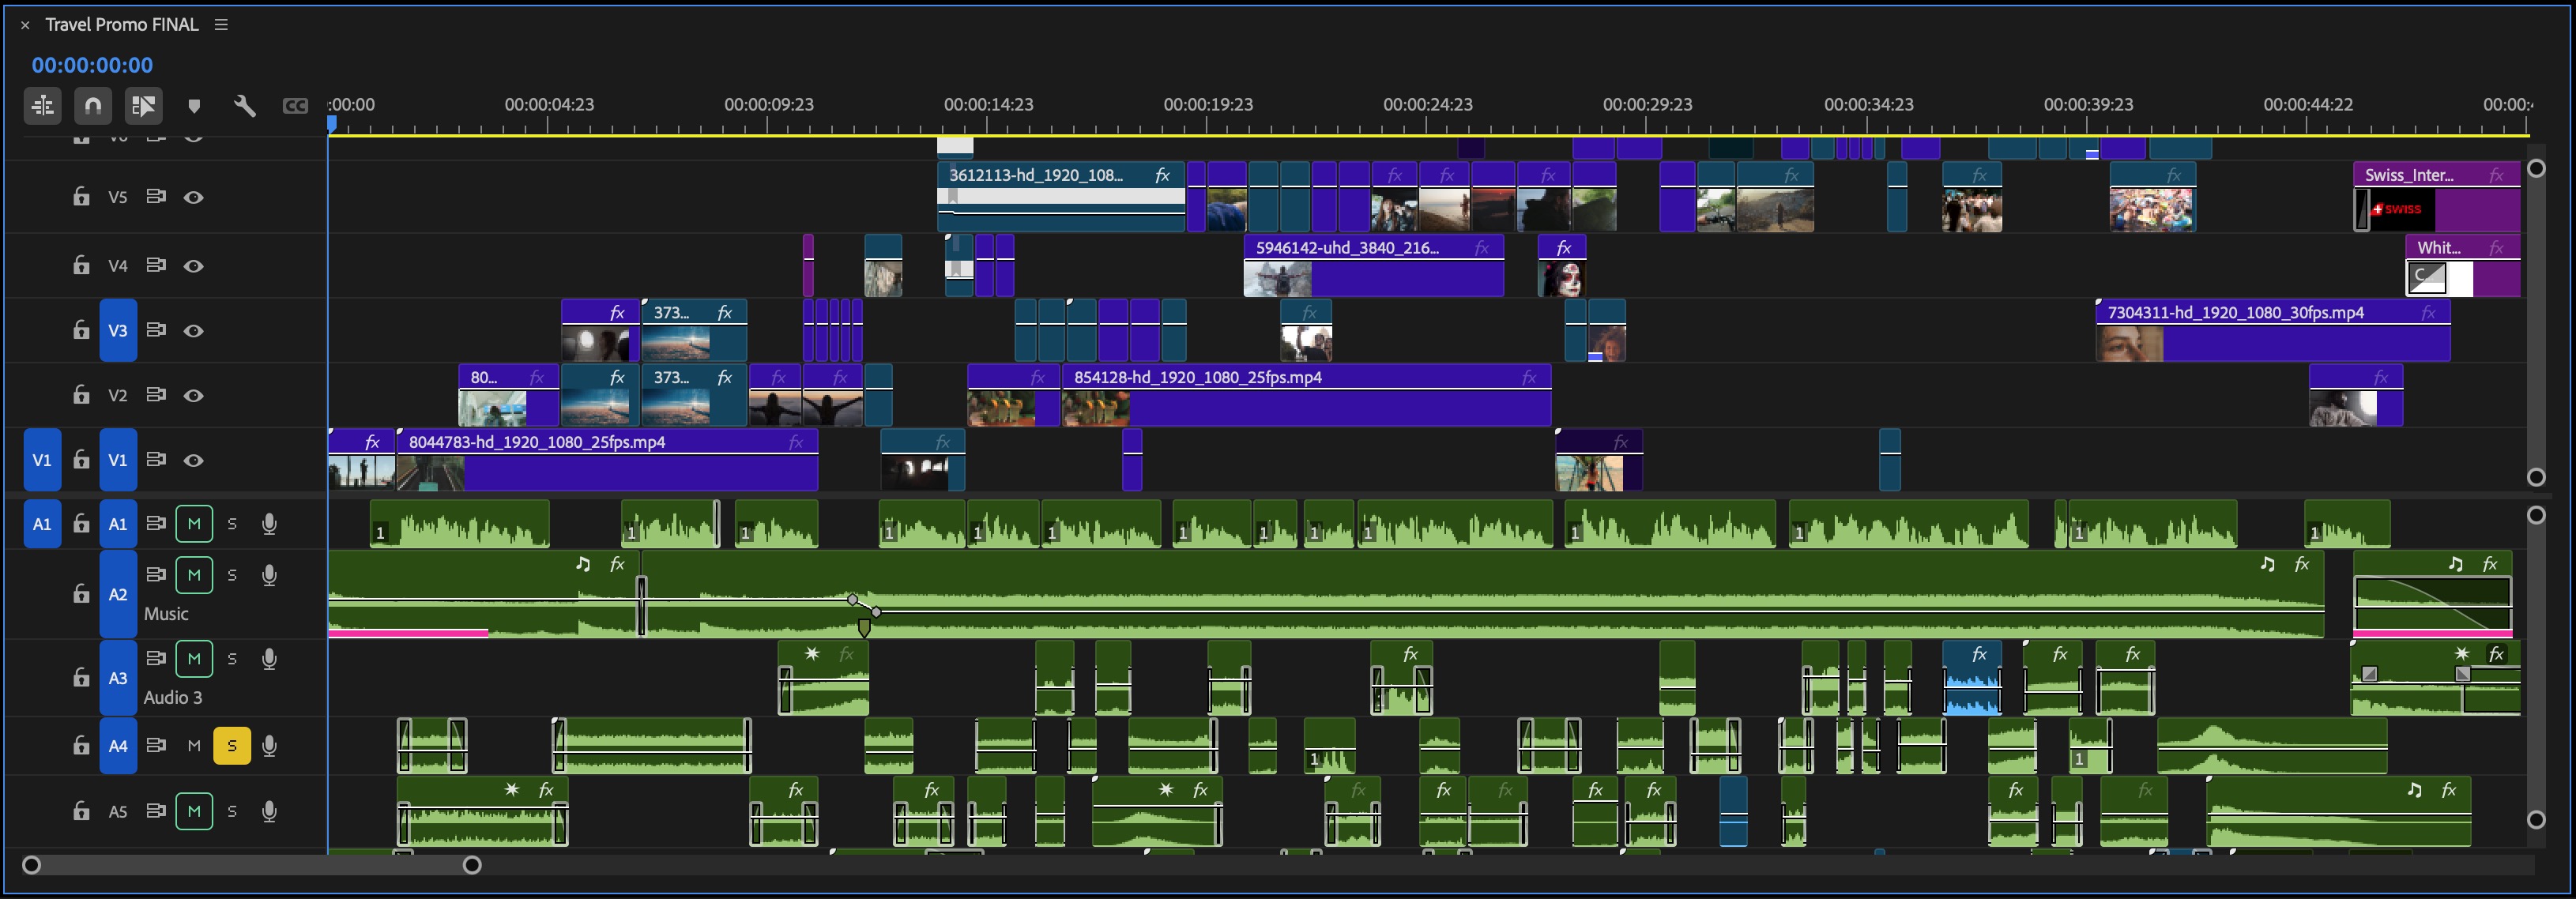
Step 1: Select the Clip
- Launch Premiere Pro and load your footage into the timeline.
- Click on the clip you want to color grade.
Step 2: Open the Lumetri Color Panel
- Go to Window > Lumetri Color to open the color grading controls.
- You can also select the Color workspace at the top of the interface for easier access.
Step 3: Use Basic Correction (Optional Warm-Up)
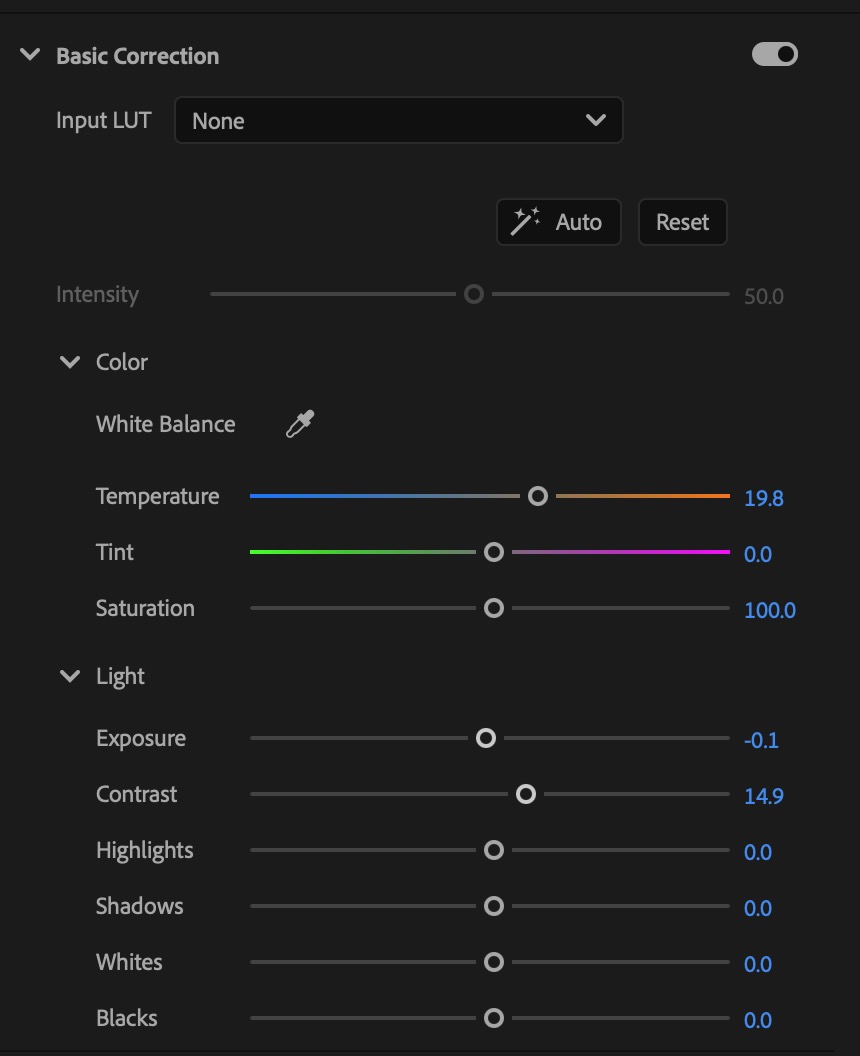
In the Basic Correction tab:
- Increase Temperature slightly (+10 to +20) to push warmth into the highlights.
- Lower Exposure slightly if needed.
- Boost Contrast (+15 to +30) to create stronger image separation.
📌 Tip: This step preps your footage for more dynamic contrast.
Step 4: Shift Tones in the Color Wheels
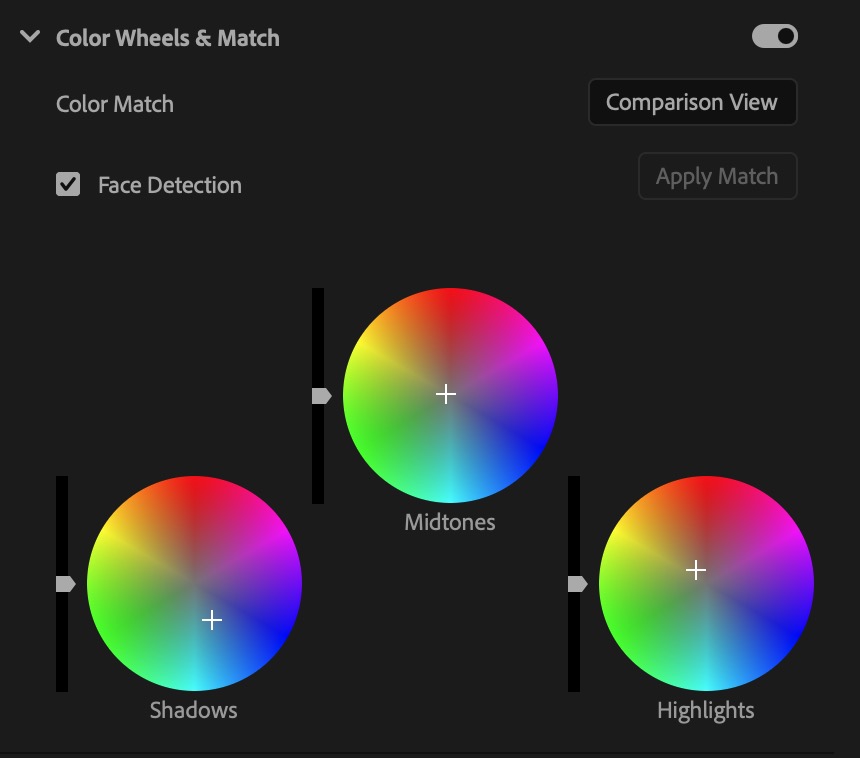
In the Color Wheels & Match section:
- Shadows: Drag toward blue or teal to anchor the dark tones.
- Midtones: Slightly shift toward yellow to balance warmth.
- Highlights: Pull gently toward yellow-orange to boost warmth in brighter areas.
🎯 This creates the yellow-blue contrast effect that gives your footage a rich, punchy vibe.
Step 5: Refine with Curves

Under Curves > Hue vs Hue:
- Select blue or cyan hues and shift them slightly toward teal or desaturation.
- Select yellow and orange hues and push them more toward golden tones.
Under Hue vs Sat:
- Boost yellows and oranges slightly to enhance visibility without oversaturating.
📌 This gives you precise control over color targeting and boosts skin tones and golden highlights.
Step 6: Add Final Touches
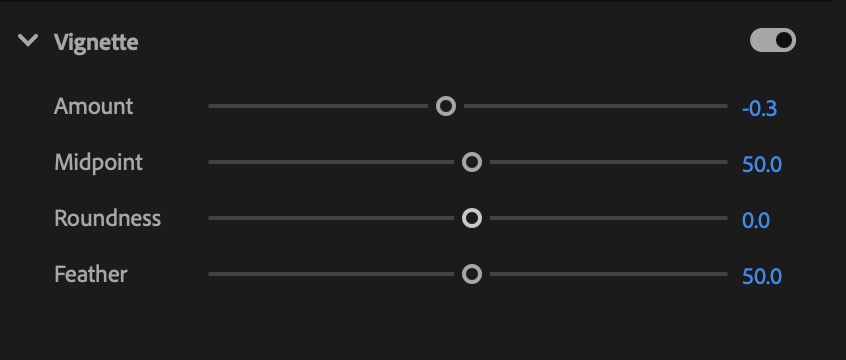
- Use the Vignette tab to darken edges slightly, pulling focus toward the center.
- Apply Sharpening (+10 to +20) in the Creative tab to enhance crispness.
For an even more cinematic finish, you can also add widescreen black bars using this guide: how to add cinematic lines in Premiere Pro.
💡 Pro Tips for a Strong Yellow Contrast Look
- Shoot in natural light or golden hour for better yellow tones.
- Use manual white balance during filming to prevent unwanted blue correction.
- Always grade in sequence with scopes visible to avoid over-pushing saturation or clipping highlights.
If you need more control over specific areas of your color grade, here’s how to change a mask box or square mask in Premiere Pro. For precise targeting of highlights, shadows, or skin tones, you can follow this guide on how to create a perfect square mask. And if your masks shift during playback or grading, here's how to stop a mask from moving in Premiere Pro.
🚀 Final Thoughts: Make Your Videos Stand Out with Yellow Contrast
A yellow-contrast grade adds visual heat, vibrancy, and emotion to your scenes. With Premiere Pro, you don’t need LUTs or third-party plugins—just smart use of Lumetri tools and curves.
🎓 Want to master color grading, transitions, and advanced editing workflows?
Join the Adobe Premiere Pro Course by Miracamp and learn how to edit, color, and deliver professional-grade videos step-by-step—from beginner to expert.
FAQ Adding Yellow Contrast in Premiere Pro
What is yellow contrast in Premiere Pro?
Yellow contrast is a color grading technique that enhances warm yellow and golden tones in the highlights and midtones while balancing them against cooler shadows, often using color wheels and curves in Premiere Pro.
How do I create a yellow tone in Premiere Pro?
Use the Lumetri Color panel, increase the temperature, shift midtones and highlights toward yellow using color wheels, and fine-tune using Hue vs Hue and Hue vs Sat curves.
Which panel do I use to add yellow contrast in Premiere Pro?
Use the Lumetri Color panel, especially the Color Wheels & Match and Curves sections to push yellow into the highlights and balance it with blue shadows.
Can I increase yellow without oversaturating the image?
Yes, use Hue vs Saturation curves to selectively boost yellow and orange saturation without affecting the entire image, helping preserve natural skin tones and avoid color clipping.
How do I make highlights warmer in Premiere Pro?
Shift the highlights color wheel toward yellow or orange, and slightly increase temperature in the Basic Correction tab to warm up bright areas.
How do I adjust shadows to complement yellow contrast?
In the Color Wheels section, drag the shadows wheel toward blue or teal. This creates color separation and enhances the yellow tones in midtones and highlights.
Do I need LUTs to create a yellow contrast effect?
No, you can create yellow contrast manually using the built-in Lumetri Color tools in Premiere Pro. LUTs are optional for saving or replicating a look.
Can yellow contrast be used in all types of footage?
Yes, but it's most effective in footage with natural light, outdoor scenes, or skin tones. It may not be ideal for indoor or neutral-tone content unless carefully balanced.
How do I avoid making the image look too yellow?
Monitor your grade using scopes, avoid over-pushing temperature or saturation, and use Hue vs Hue curves to fine-tune specific yellow or orange shifts.
If your grade becomes too warm or overly saturated, here’s how to remove yellow contrast in Premiere Pro to fix the problem quickly.
Where can I learn more about color grading in Premiere Pro?
Join the Adobe Premiere Pro Course by Miracamp to master color grading, contrast control, and advanced video editing workflows.


