

If you want to give your footage a cinematic, widescreen look, adding cinematic lines—also known as letterboxing or black bars—is one of the easiest and most effective techniques. Whether you're editing a short film, a YouTube video, or a promo, this stylistic touch can instantly elevate the mood and visual storytelling.
Adding Cinematic Lines: Video Tutorial
✅ Method 1: Add Cinematic Lines Using the Crop Effect
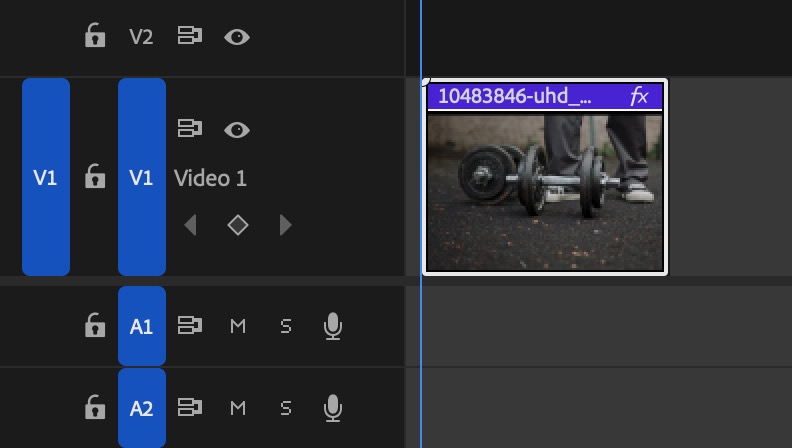
Step 1: Select Your Clip
Step 2: Adjust Top and Bottom Crop
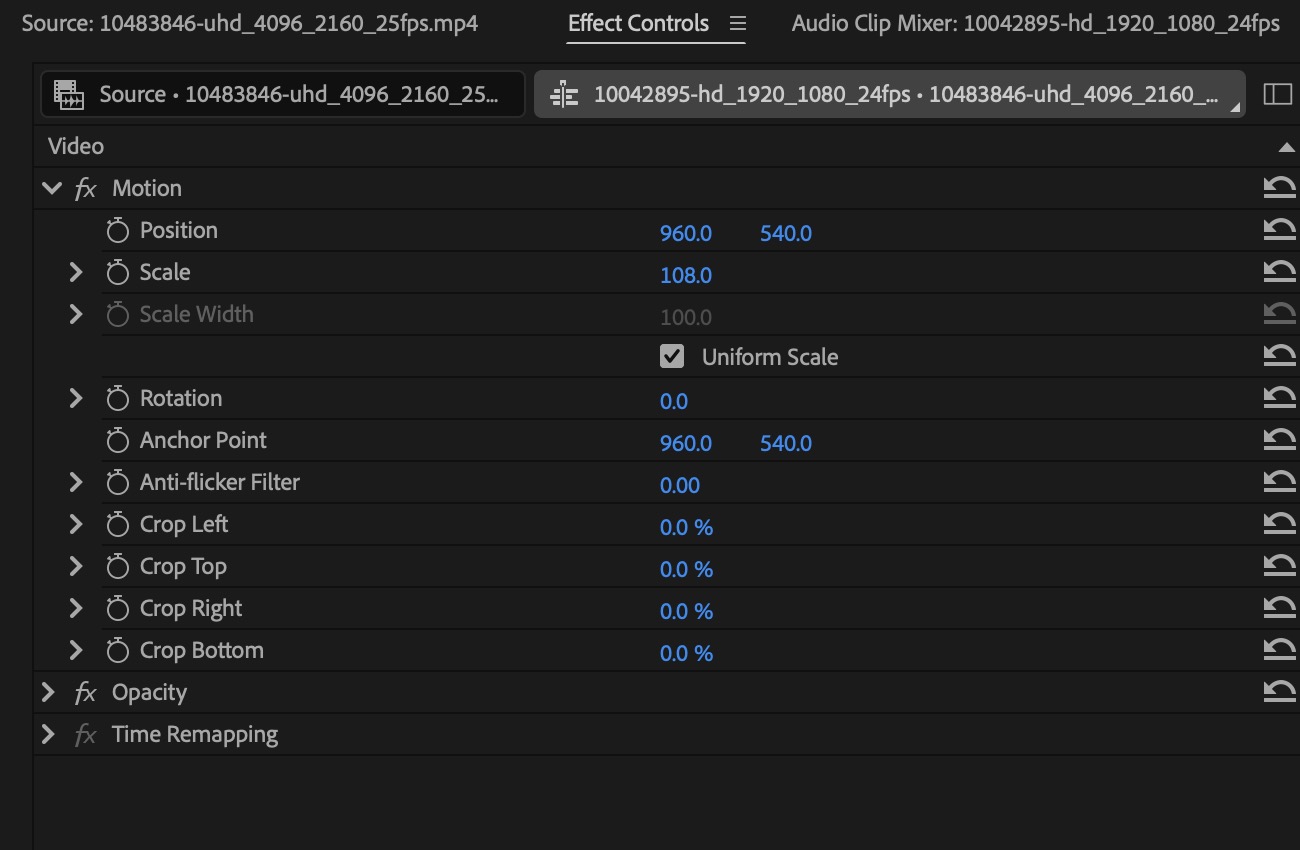
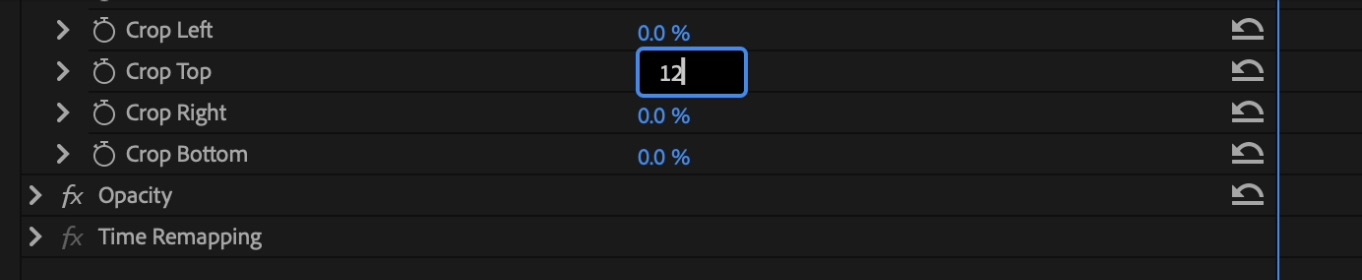
🔸 For standard cinematic lines, use Top = 12% and Bottom = 12% (for 2.35:1 look).
Step 2: Optional Keyframes
- If you want the cinematic bars to fade in or out, add keyframes to animate the Top/Bottom values over time. If you’re animating the cinematic bars or using masks and they shift unexpectedly, here’s how to fix it: how to stop a mask from moving in Premiere Pro.
📌 Pro Tip: This method works on individual clips, so apply the effect to an adjustment layer if you want consistent bars across your entire sequence.
If you want even more control over shaping your black bars or framing, here’s a guide on how to change the mask box or square in Premiere Pro.
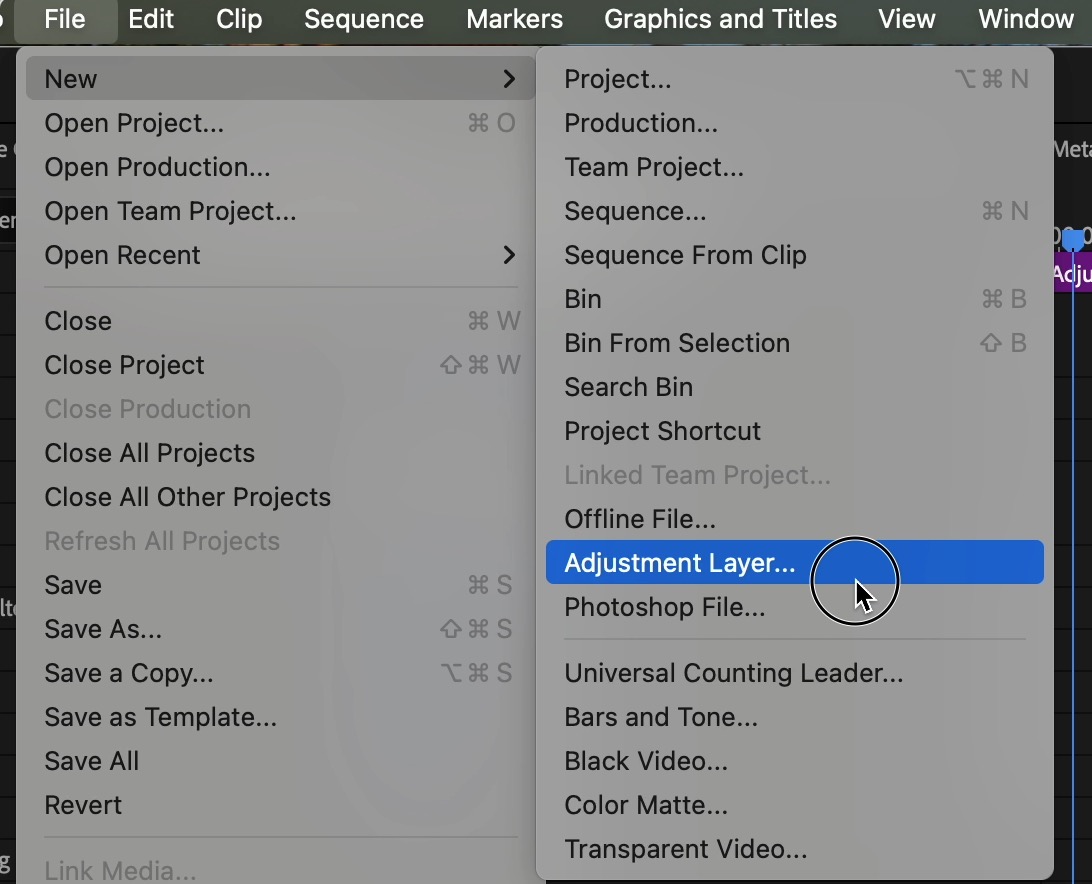
✅ Method 2: Use an Adjustment Layer (Recommended for Full Sequences)
Step 1: Create an Adjustment Layer

Step 2: Add Crop Effect to the Adjustment Layer
- Apply the Crop effect to the adjustment layer.
- Set Top = 12% and Bottom = 12% in the Effect Controls.
This method ensures your cinematic lines stay consistent, even if you cut between different clips.
If you want even more control over shaping your black bars or framing, here’s a guide on how to change the mask box or square in Premiere Pro.
✅ Method 3: Use the Free Automatic Letterbox Generator (No Editing Skills Needed)
If you want a quick, hassle-free way to apply cinematic black bars without using editing software:
- Go to Edititng Tools
- Upload your video file directly on the page.
- Choose your aspect ratio (e.g., 2.35:1 or 2.39:1 for a cinematic look).
- Click “Generate” and download your video with perfectly applied black bars.
📌 Bonus: This tool processes everything online and requires no editing software or graphic overlays. Perfect for beginners or for saving time in bulk projects.
✅ Method 4: Use a Cinematic PNG Overlay (Quickest Visual Solution)
If you want a stylized or pre-designed look, you can download a black bar PNG image and place it as a graphic overlay:
- Import the PNG into your project.
- Drag it onto a track above your video clips.
- Resize if necessary.
📌 Make sure the PNG has transparency where the video is visible and black bars at the top and bottom.
Tips for Better Cinematic Results
- Always frame your shots with black bars in mind (avoid cutting heads or text).
- Combine letterboxing with cinematic color grading for more impact.
- Add slow push-ins, fades, or widescreen transitions for a polished effect.
For a stronger film look, you can enhance your grading using techniques like how to add yellow contrast in Premiere Pro.
What Are Cinematic Lines?
Cinematic lines are the horizontal black bars that appear at the top and bottom of the frame to simulate a widescreen aspect ratio (like 2.35:1 or 2.39:1). This is a visual cue commonly used in movies, trailers, and high-end content to create a film-like aesthetic.
If your footage has unwanted warm tones, you can also fix it using this guide on how to remove yellow contrast in Premiere Pro.
Final Thoughts: Elevate Your Videos Instantly
Adding cinematic lines in Premiere Pro is a fast way to transform standard footage into stylized, professional-looking content. Whether you choose the crop method, adjustment layer, or overlay, this small visual tweak can dramatically change how your video feels.
🎓 Want to go further with cinematic editing, color grading, transitions, and storytelling?
Join the Adobe Premiere Pro Course by Miracamp to learn professional video editing techniques from start to finish—perfect for creators, filmmakers, and editors who want to level up fast.
FAQ
How do I add cinematic lines in Premiere Pro?
Apply the Crop effect to your clip or an adjustment layer in Premiere Pro. Set the Top and Bottom crop to 12% each to create cinematic black bars.
What are cinematic lines in Premiere Pro?
Cinematic lines, also known as letterboxing, are horizontal black bars added to the top and bottom of your video to simulate a widescreen aspect ratio like 2.35:1 or 2.39:1.
What is the best way to add cinematic black bars in Premiere Pro?
The recommended method is to use an adjustment layer with the Crop effect applied. This keeps the cinematic bars consistent across multiple clips in your timeline.
What crop settings create a cinematic look?
Set the Top and Bottom crop to 12% in the Effect Controls panel. This simulates the classic cinematic aspect ratio and adds visual polish to your video.
Can I add cinematic bars to the entire sequence?
Yes, by creating an adjustment layer and applying the Crop effect to it, you can add cinematic lines that affect your entire timeline without editing each clip individually.
Are there overlays for cinematic lines in Premiere Pro?
Yes, you can use PNG overlays with black bars to add a cinematic look. Simply import the overlay and place it on a video track above your footage.
Do cinematic black bars affect video resolution?
Cinematic bars visually change the aspect ratio but do not alter the actual resolution of your video. They're purely aesthetic and added within the frame.
Can I animate cinematic lines in Premiere Pro?
Yes. You can animate the Top and Bottom crop values using keyframes to create a cinematic fade-in or fade-out effect.
Is letterboxing the same as cinematic lines?
Yes, letterboxing refers to the addition of black bars (cinematic lines) to simulate widescreen film formats in standard video dimensions.
Where can I learn more about cinematic editing in Premiere Pro?
You can join the Adobe Premiere Pro Course by Miracamp to master cinematic effects, transitions, color grading, and advanced video editing workflows.


