

A well-organized workspace is essential for any video editor aiming to optimize their workflow in Adobe Premiere Pro. Whether you're creating dynamic content for YouTube, Instagram, or producing professional-grade films, having the best Premiere Pro workspace layout tailored to your specific needs can drastically improve efficiency and enhance creativity.
Why an Optimized Premiere Pro Workspace Matters
An optimized workspace layout in Premiere Pro does more than keep your panels neat—it directly impacts your editing speed, accuracy, and creativity. Whether you’re trimming clips, applying effects, or color grading, an efficient workspace helps you:
- Boost Productivity: Quickly access the tools you use most often, saving time and effort.
- Minimize Errors: A clean and intuitive layout reduces mistakes, like applying the wrong effect or editing the wrong track.
- Enhance Creativity: Spend less time hunting for tools and more time focusing on storytelling.
With that in mind, let’s explore how you can master Premiere Pro workspaces in 2024.
Essential Panels in Premiere Pro
Before we dive into workspace layouts, it’s important to familiarize yourself with Premiere Pro’s key panels. These panels form the foundation of any efficient workspace:
Project Panel
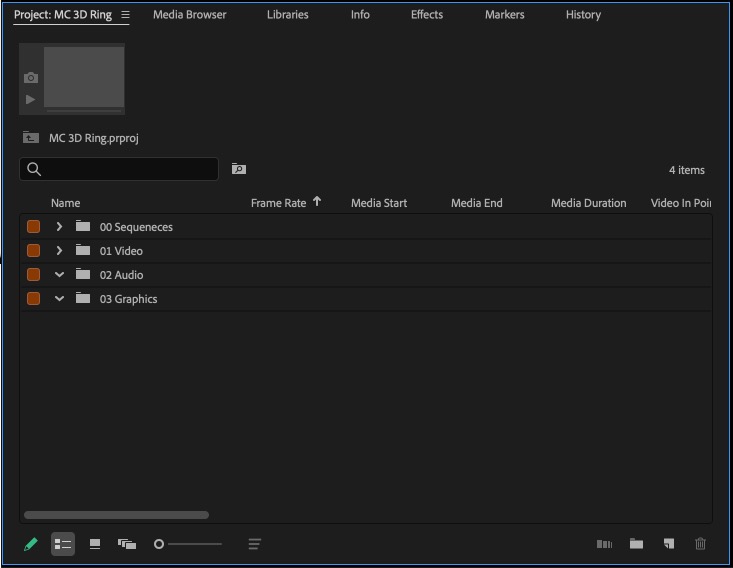
The Project Panel is your media library. It’s where all your imported video files, audio, images, and sequences are stored.
Pro Tip: Organize assets into folders for quick access. Use keywords to tag clips, such as "interviews," "B-roll," or "music tracks."
Timeline Panel
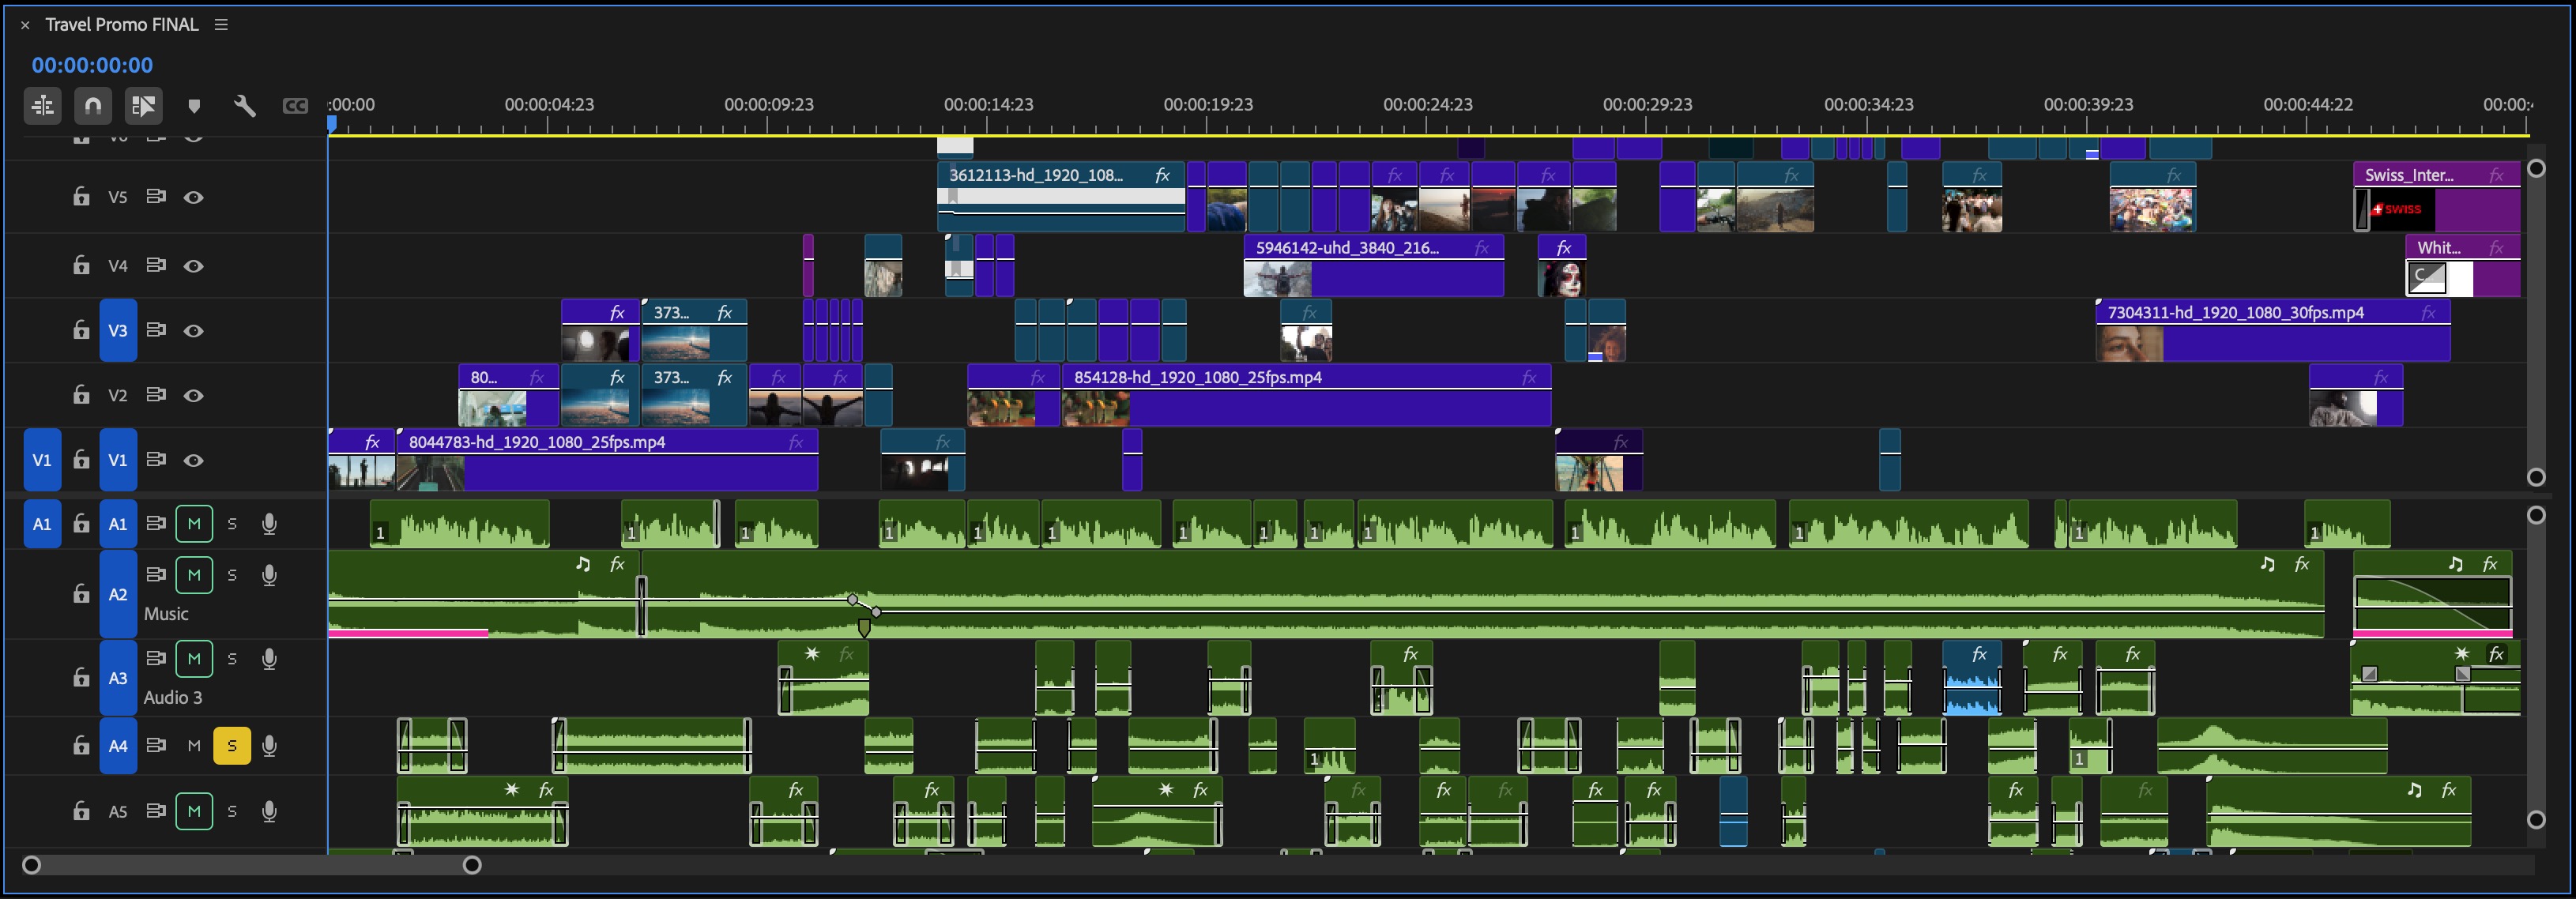
The Timeline is the heart of your editing process. This is where you assemble clips, adjust transitions, and fine-tune audio.
Pro Tip: Master timeline shortcuts, such as pressing "+" or "-" to zoom in and out.
Program Monitor

The Program Monitor shows a live preview of your project, allowing you to review your edits in real time.
Source Monitor
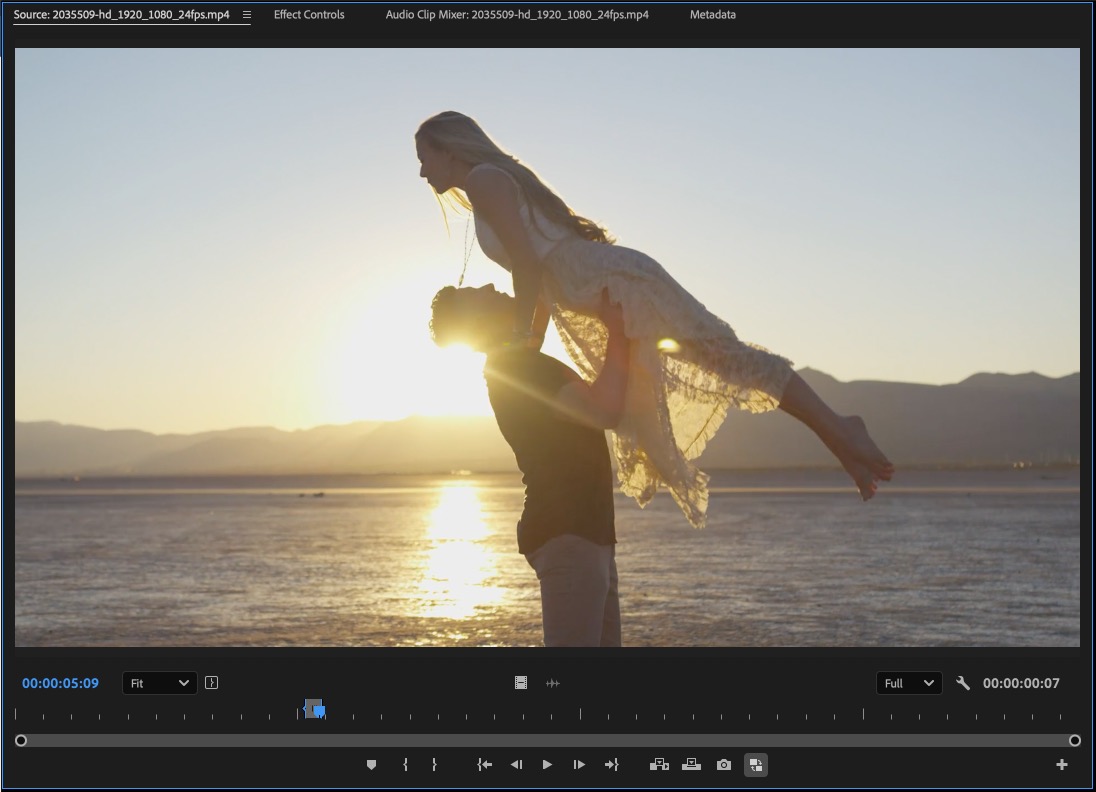
The Source Monitor is used to preview raw clips before adding them to the timeline. This is perfect for selecting in-and-out points for precise edits.
Effects Control Panel
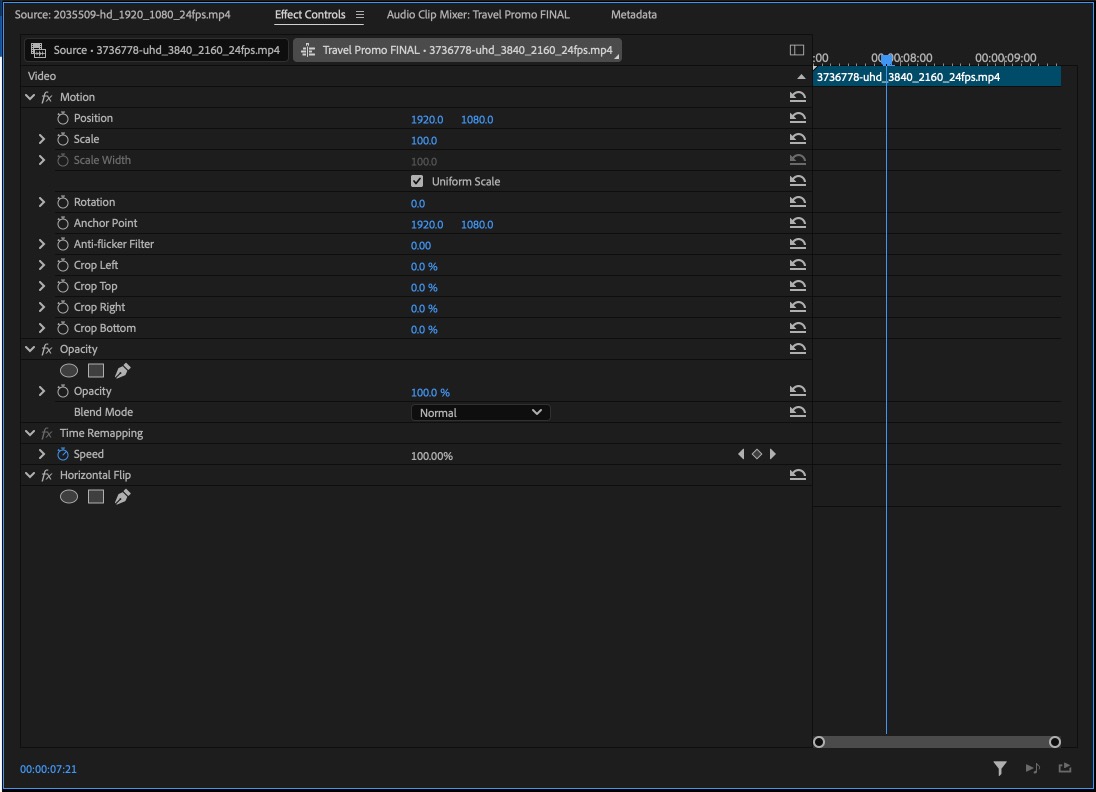
The Effects Control Panel lets you adjust properties like position, opacity, and applied effects.
Pro Tip: When using motion graphics or After Effects templates, this panel allows precise control over animations.
Lumetri Color Panel
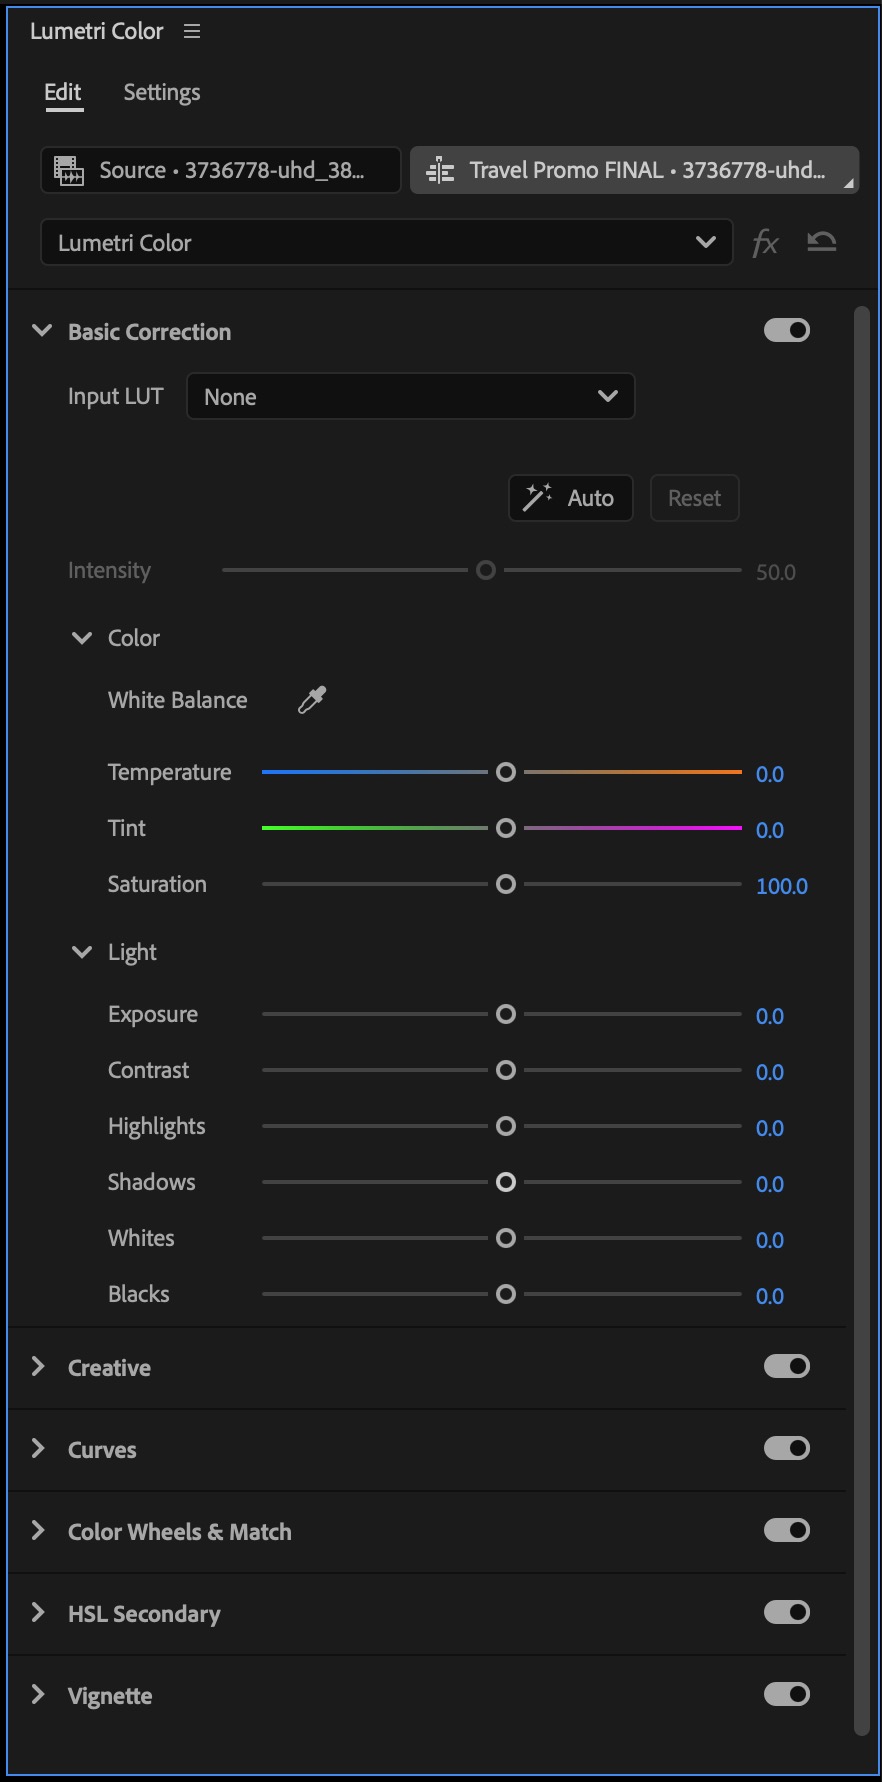
For color correction and grading, the Lumetri Color Panel provides all the tools needed to tweak contrast, saturation, and color balance.
Pro Tip: Pair the Lumetri Color Panel with Canva to create eye-catching graphics with matching color schemes.
Audio Meters

Keep track of your sound levels with the Audio Meters to ensure your audio doesn’t clip or distort.
Media Browser
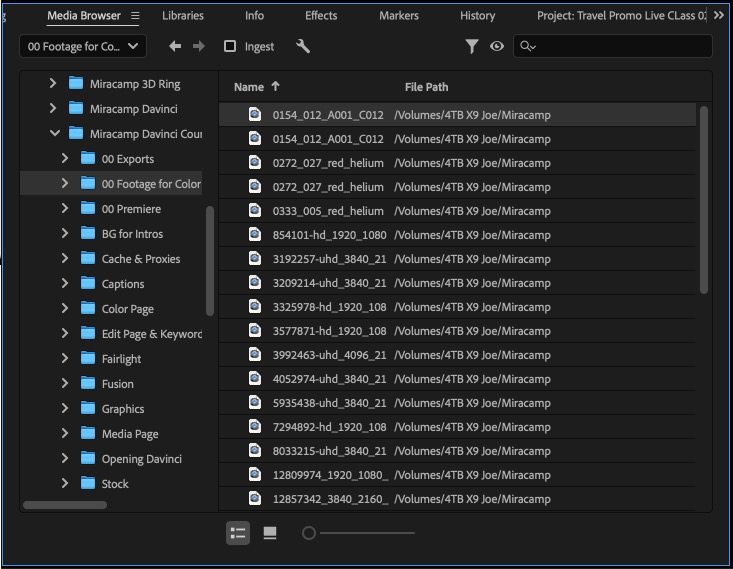
The Media Browser gives you direct access to all media files on your computer or external drives.
Best Premiere Pro Workspace Layouts
Editing Workspace
The Editing Workspace is the default layout in Premiere Pro, designed for assembling and trimming clips.
Key Features:
- Centralized Timeline for quick access.
- Program and Source Monitors at the top for real-time previews.
- Project Panel on the left for easy asset management.
Best For: General editing tasks, including cutting, sequencing, and transitions.
Color Grading Workspace
The Color Grading Workspace prioritizes the Lumetri Color Panel, allowing for precise color adjustments.
Key Features:
- Expanded Lumetri Color Panel for detailed grading.
- Lumetri Scopes for real-time feedback on color balance and exposure.
- Minimized Timeline, as color grading doesn’t require constant sequencing.
Best For: Color correction and grading, especially for cinematic projects or social media content.
Audio Workspace
The Audio Workspace is designed for sound editing and mixing, featuring tools like the Essential Sound Panel and Audio Meters.
Key Features:
- Prominent Essential Sound Panel for quick audio adjustments like DeNoise and Reverb.
- Enlarged Audio Meters for monitoring levels.
- Timeline optimized for working with audio tracks.
Best for: Dialogue editing, sound effects, and mixing music tracks for platforms like TikTok or YouTube.
Effects Workspace
The Effects Workspace is perfect for projects requiring heavy use of transitions, filters, and visual effects.
Key Features:
- Enlarged Effects Browser for easy navigation through effects and presets.
- Effects Control Panel for real-time adjustments.
- Timeline optimized for managing multiple layers of effects.
Best For: Applying advanced visual effects, transitions, and animations.
If you often work inside the Effects Workspace, you’ll benefit from using high-quality free Premiere Pro transitions packs to speed up creative transitions without manually building them from scratch.
How to Customize Your Premiere Pro Workspace
Customizing your workspace ensures it aligns perfectly with your workflow.
Rearrange Panels
Click and drag panels to reposition them. Premiere Pro’s docking system allows panels to snap into place.
Resize Panels
Hover over panel borders and drag to resize. For example, enlarge the Timeline Panel for multi-track editing or expand the Lumetri Color Panel for detailed grading.
Save Your Workspace
Once you’ve customized your layout, save it for future use:
- Go to Window > Workspaces > Save as New Workspace.
- Name your workspace and click OK.
To push customization further, learn how to make a Premiere Pro template so you can reuse your workspace elements, graphics setups, and editing structures across multiple projects.
Advanced Tips for an Optimized Workflow
Use Multiple Monitors
If you’re working on complex projects, use a dual-monitor setup. Place the Program Monitor and Timeline on one screen, and the Lumetri Color and Effects Panels on the other.
Learn Keyboard Shortcuts
Pairing an optimized workspace with shortcuts can supercharge your productivity. For example:
- Press C for the Razor Tool to make cuts quickly.
- Use V for the Selection Tool.
- Press J, K, L to control playback speed.
Leverage Preset Workspaces
Premiere Pro’s built-in workspaces, like Assembly or Graphics, are excellent starting points. Customize these presets further to match your needs.
Integrate Canva for Graphics
Combine Canva with Premiere Pro to create eye-catching text overlays, social media templates, or end screens. Import these assets into your Project Panel to enhance your video.
To further speed up your editing process, consider enhancing your workflow with some of the best Premiere Pro plugins that add powerful automation, effects, and productivity features. For faster editing and consistent styling, you can also download a curated collection of free Premiere Pro presets to instantly enhance cuts, colors, animations, and more.
And if you want ready-made assets that blend perfectly with your optimized workspace, explore this complete library of Premiere Pro templates for intros, titles, motion graphics, and project structures.
Conclusion: Transform Your Workflow with the Right Workspace
Mastering your Premiere Pro workspace layout is a game-changer for video editors. Whether you’re crafting social media content for Instagram or fine-tuning a professional project, an optimized workspace boosts efficiency and unlocks creativity.
Ready to take your editing to the next level? Enroll in Miracamp's Adobe Premiere Pro Course and learn from industry experts who’ve worked with Netflix, Disney, and HBO. Get hands-on guidance on creating personalized workspaces, mastering advanced techniques, and producing stunning video projects.
👉 Join Miracamp's Adobe Premiere Pro Course today and revolutionize your editing workflow!
FAQ Optimizing Adobe Premiere Pro Workspaces
Why is workspace layout important in Premiere Pro?
A customized workspace improves editing speed, accuracy, and creative flow. It helps editors quickly access tools, avoid errors, and focus more on storytelling instead of navigation.
What are the essential panels in Premiere Pro?
Key panels include:
- Project Panel (media library)
- Timeline (editing area)
- Program Monitor (final output preview)
- Source Monitor (raw clip review)
- Effects Controls (adjust visual/audio properties)
- Lumetri Color (color correction)
- Audio Meters (monitor levels)
- Media Browser (file access)
What is the best workspace layout for general editing?
The Editing Workspace is ideal for cutting, sequencing, and transitions. It places the Timeline at the center, with monitors and project files arranged for quick access.
How do I switch to the Color Grading Workspace?
Go to Window > Workspaces > Color, or select it from the top workspace tabs. This layout expands the Lumetri Color Panel and includes Lumetri Scopes for precise grading.
What is the Audio Workspace used for?
The Audio Workspace is tailored for sound editing. It emphasizes the Essential Sound Panel, Audio Meters, and a timeline optimized for working with multiple audio tracks.
How do I customize my workspace in Premiere Pro?
Drag and dock panels to rearrange them, resize each panel by dragging its borders, then save the layout via Window > Workspaces > Save as New Workspace.
Can I use dual monitors with Premiere Pro?
Yes. Dual monitors allow you to dedicate one screen to the Timeline and playback, while the second can display tools like Lumetri Color, Effects, or the Project Panel for expanded workflow.
What are helpful keyboard shortcuts for workspace efficiency?
- C: Razor Tool
- V: Selection Tool
- J/K/L: Playback control
Shortcuts, combined with a tailored workspace, improve editing speed significantly.
How do I reset a workspace if it becomes cluttered?
Go to Window > Workspaces > Reset to Saved Layout. This restores the last saved configuration and removes any unwanted changes.


